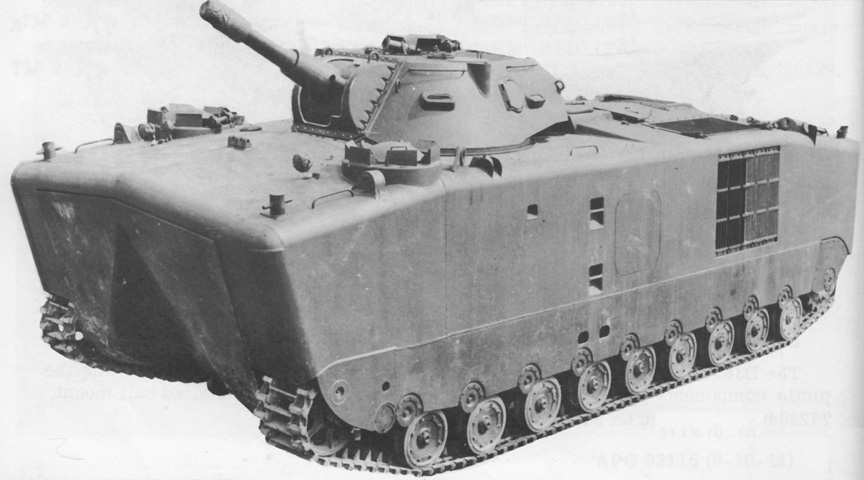
Landing Vehicle, Tracked, Howitzer, Mark 6.
The large bow ramp with the inverted V-shaped channel is obvious in the front of this vehicle. The driver and crew chief were provided with cupolas on the left and right front corners of the hull, respectively. The large mesh screen on the hull side is the port radiator compartment, and directly above this is a screen for the engine air intake. Similar screens were on the opposite side of the vehicle. (Picture from Weapon Mounts for Secondary Armament.)
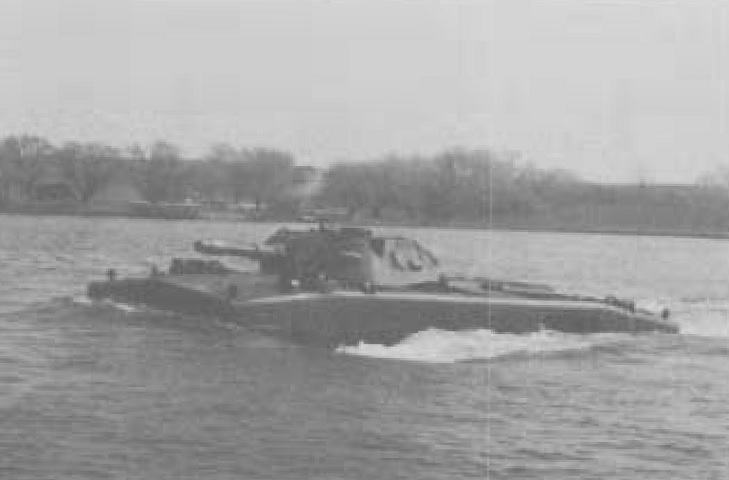
The freeboard of the vehicle is illustrated here. (Picture from Research, Investigation and Experimentation in the Field of Amphibian Vehicles.)
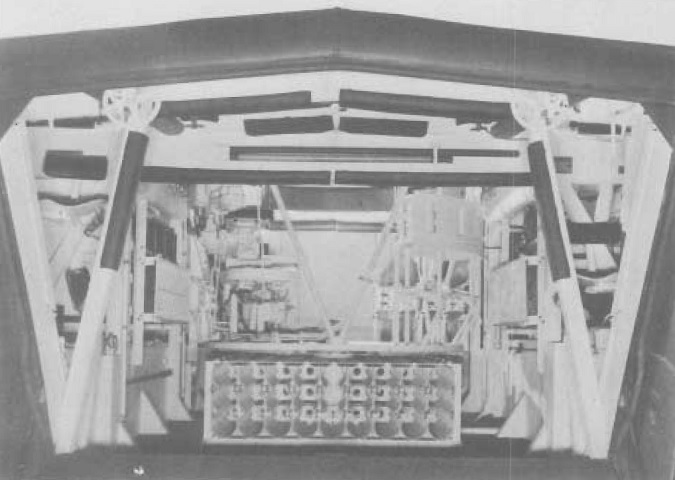
This image is looking into the vehicle through the open front loading ramp. The forward 105mm ammunition stowage rack dominates the front part of the crew compartment. (Picture from Research, Investigation and Experimentation in the Field of Amphibian Vehicles.)
The turret is seen traversed to the rear. A forward-opening hatch for the loader occupied the left side of the turret roof, and the commander's cupola was on the right ringed with five periscopes. The .50cal machine gun is mounted, and the barrel is secured in its travel lock. The pistol port in the loader's side of the turret behind the vision block is open. (Picture from Weapon Mounts for Secondary Armament.)
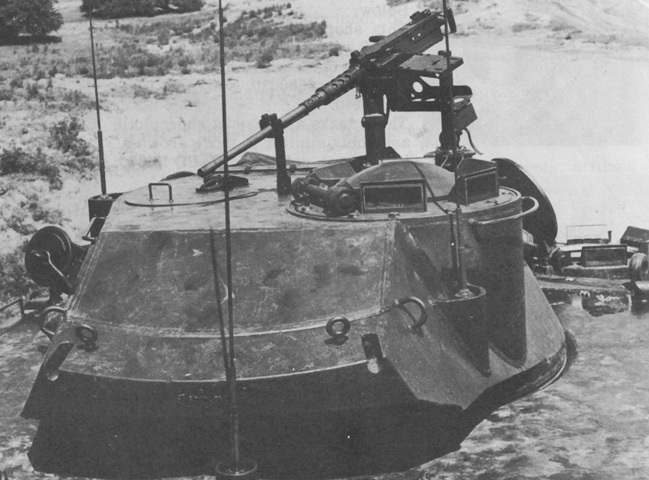
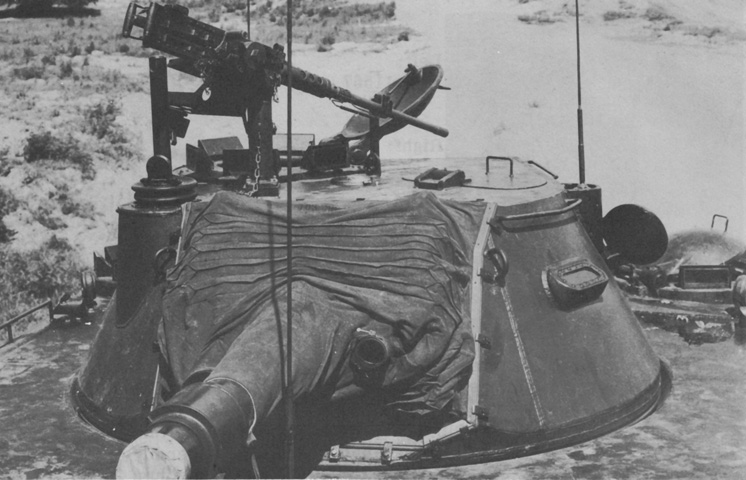
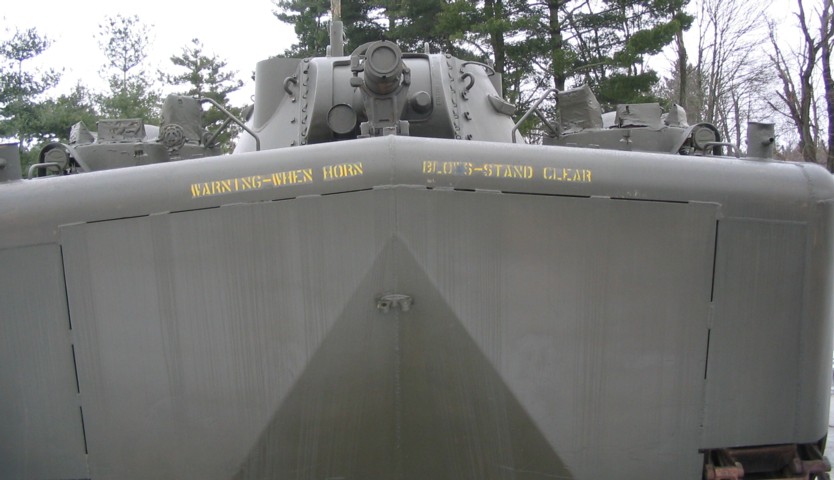
The rear of the turret can be examined with the howitzer trained forward. A rack for pioneer tools could be stowed on the turret bustle roof, although it is absent on this machine. (Picture from Weapon Mounts for Secondary Armament.)
A closeup of the turret front without the howitzer mount cover is provided in this image. The gunner's telescope T149E2 peered through the large aperture on the howitzer's lower right, and the coaxial machine gun port was on the howitzer's left. Note the pedestal mount for the .50cal machine gun on the turret roof is folded down. (Picture from Weapon Mounts for Secondary Armament.)
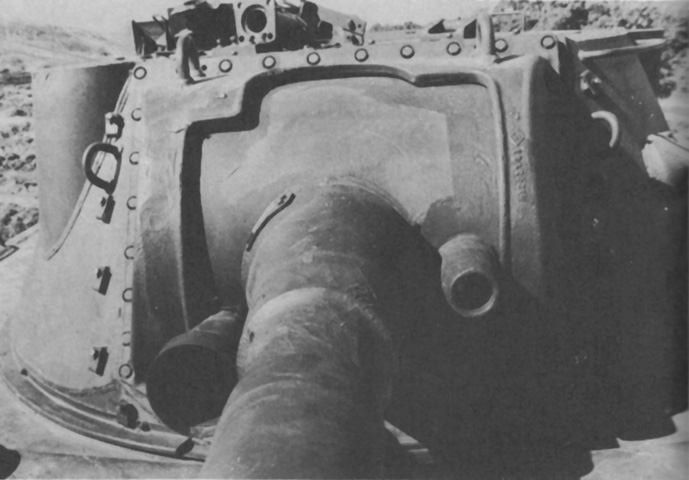
The coaxial machine gun is seen to the left of the 105mm howitzer in the combination mount. (Picture from Weapon Mounts for Secondary Armament.)
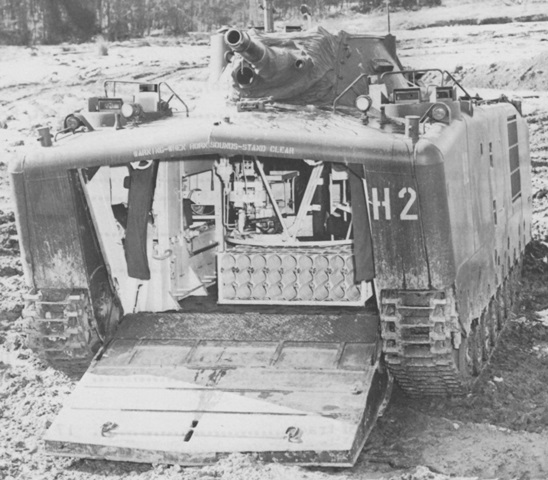
The turret basket and forward ammunition rack can again be seen inside this machine. (Picture from FMFM 9-2 Amphibian Vehicles.)
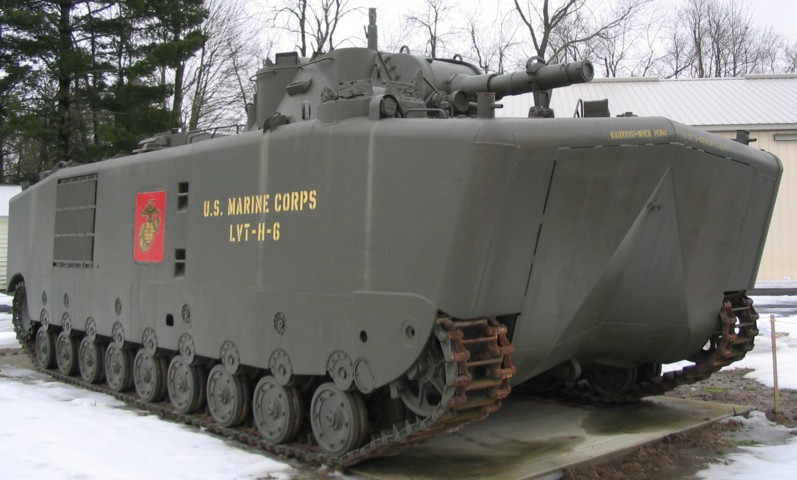
Inside the triangular guard on the vehicle's right bow is a blackout bow marker light, and the crew chief's cupola is behind the light guard. On the other side of the crew chief's position is the vehicle's horn, and a mooring bitt is attached forward of the horn. The red Marine crest is painted on an escape hatch, and boarding steps make their way up the hull just in front of the escape hatch. The large mesh screen towards the rear of the hull shows where the starboard radiator compartment was housed.

The boxlike superstructure containing the modified air intake and exhaust system can be seen on the rear deck of this vehicle, and can be contrasted with the earlier vehicles in the top images. The periscopes in the turret mark where the vehicle commander sat, and the mount for the .50cal machine gun can be seen in front of his position.
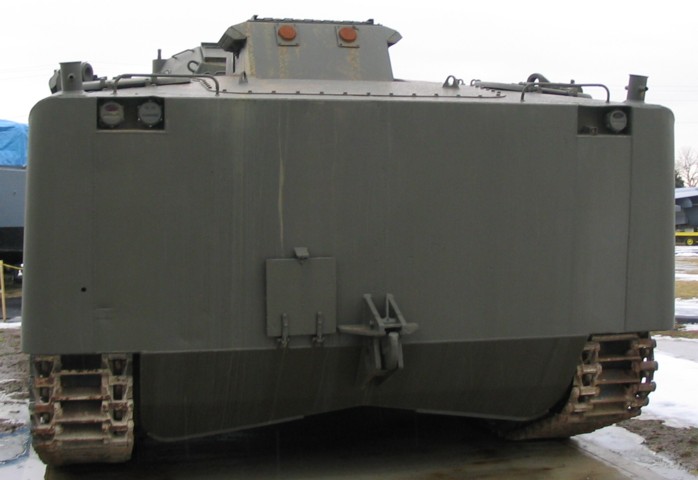
The square cover next to the stern tow hitch protected the vehicle's external interphone. The engine hatch, ringed by bolts, can be seen on the rear deck, and two additional mooring bitts were attached to the rear corners of the vehicle.
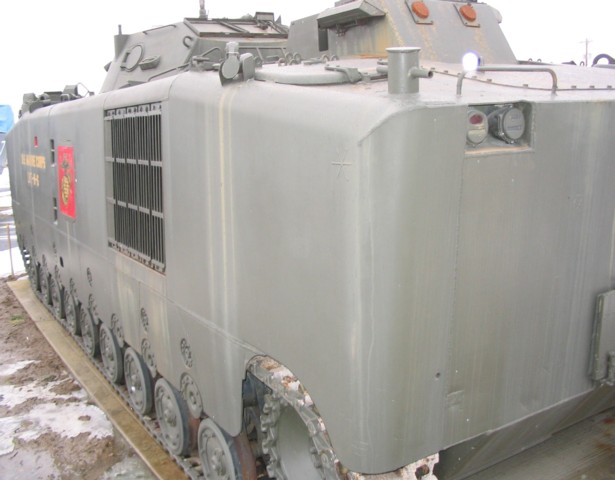
Further details of the rear deck can be seen in this image. Just in front of the mooring bitt is an engine compartment access hatch, and a bilge outlet is just in front of this hatch. The port radiator compartment grille can be seen, as well as the port escape hatch and boarding steps. The turret has a pistol port on the left side, and a pioneer tool rack on its rear slope.
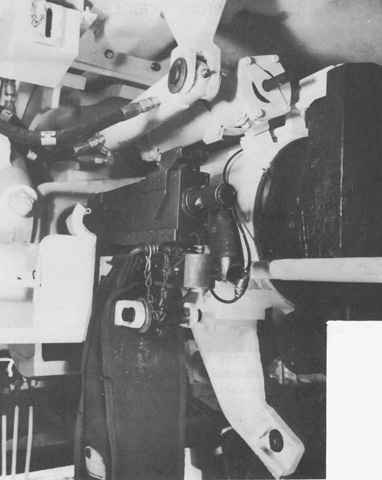
The driver sat in the vehicle's port bow, and the crew chief occupied the opposite side. The 105mm howitzer is resting in its travel lock. A guard for the gunner's sighting telescope can be seen in the howitzer rotor, and the aperture for the coaxial .30cal MG is on the opposite side of the ordnance.
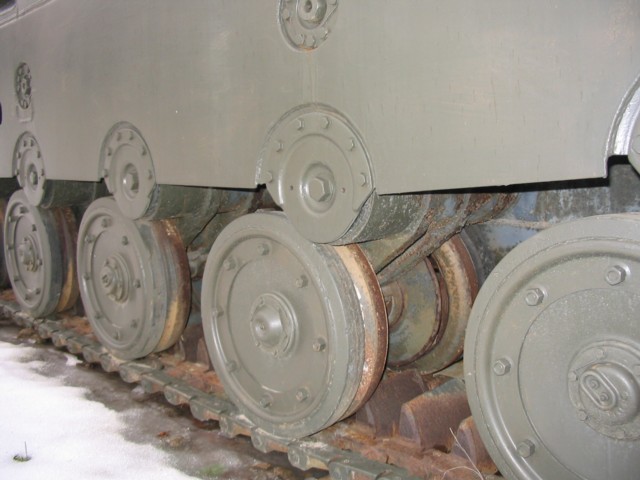
The track pins in the LVTP5 family did not go all the way across the track shoe; there was a short pin on each side of each track shoe. This made the large track grousers more effective at water propulsion. The road wheels were paired on each side of the track. One wheel in the pair was rimmed with a rubber tire, and the other wheel was steel-rimmed to help absorb shocks. The suspension arms of the torsilastic suspension can also be seen.
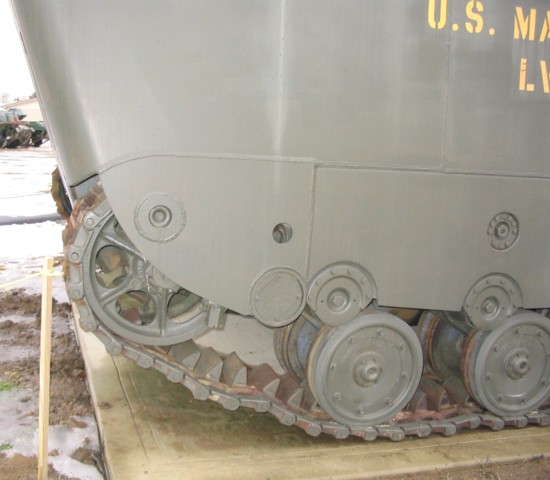
The front wheel of the vehicle was the idler wheel. The hole behind the idler was the adjustment inspection hole.
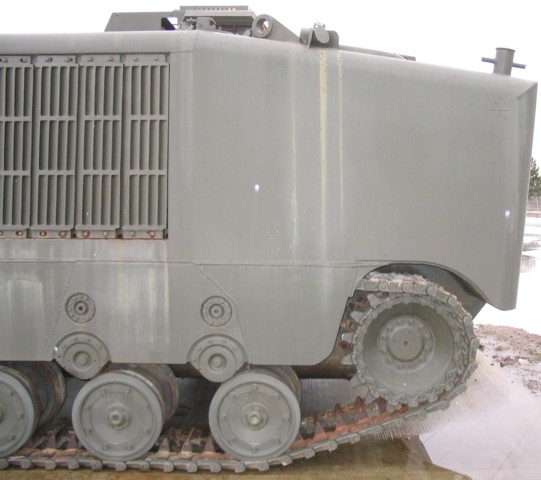
The rear drive sprocket is visible here, as well as further details of the air intake and exhaust housing and bilge outlet on top of the vehicle.